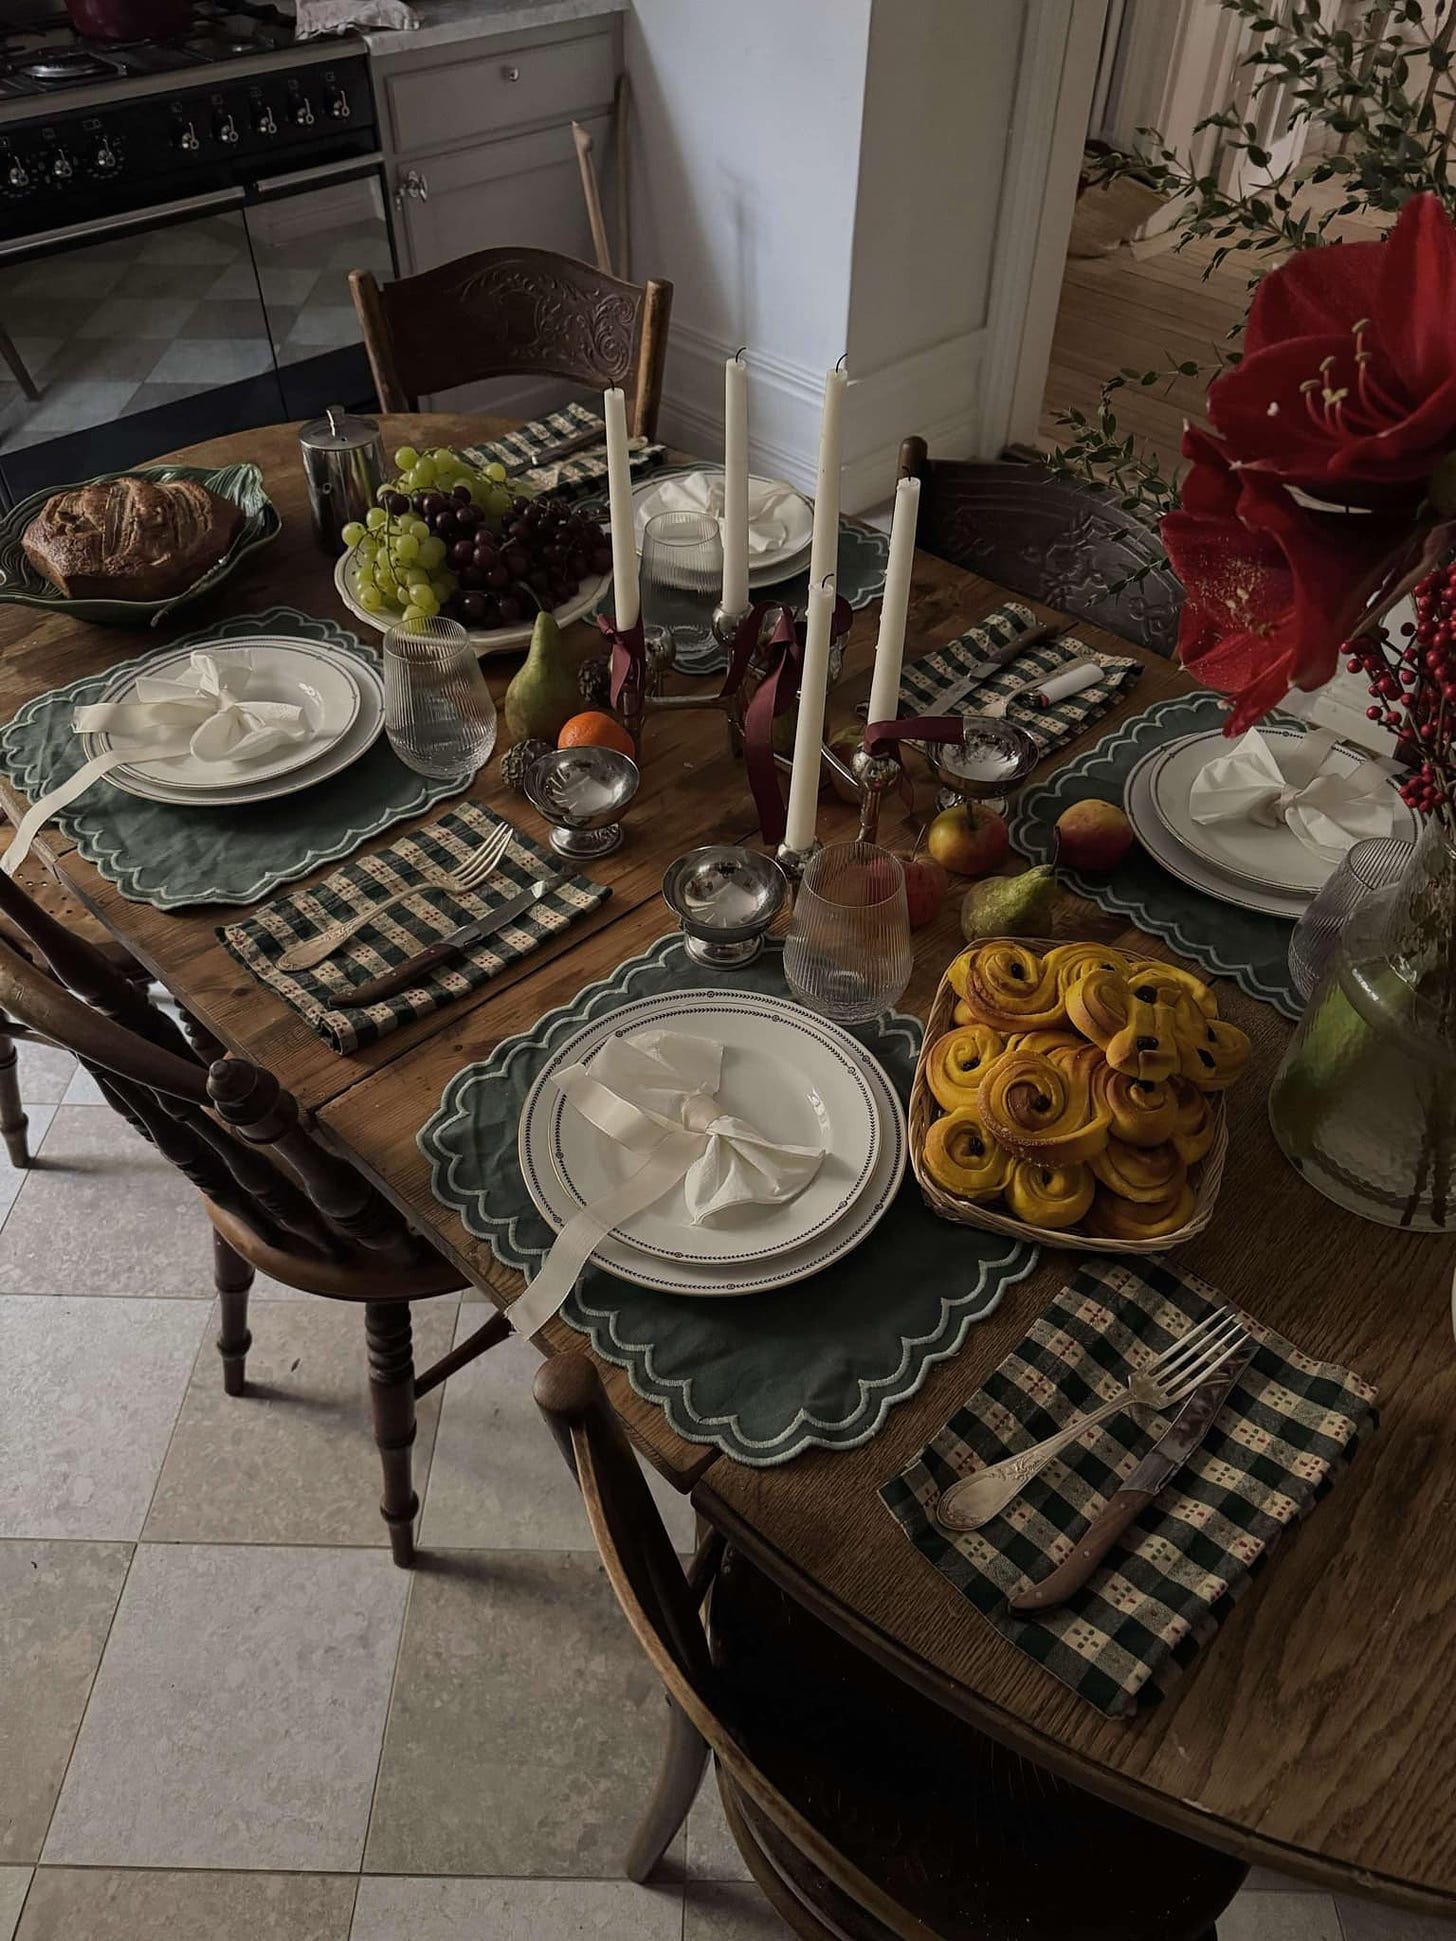
For those of you who aren't Swedish or haven't yet been seduced by the glory of lussebullar—allow me to enlighten you. These golden, saffron-infused buns are a Christmas staple in Sweden. Officially, they're linked to the 13th of December, Santa Lucia Day, but let’s not kid ourselves: they’re eaten at all times during the holiday season. From December 1st until you’ve lost track of time, lussebullar will pop up everywhere—cafés, bakeries, and yes, even your local 7/11, because in Sweden, convenience stores have standards.
We adore these buns. Truly. Is it the soft, fluffy texture? The rich saffron flavour? Or just the fact that eating them feels like wrapping yourself in a warm, buttery hug? It is, obviously, all of the above.
Now, there are countless lussebullar recipes out there, but this one? THIS. ONE. It’s not just good. It’s the recipe. The golden standard. The Cher of saffron buns. Natalie, my bestie and work wife shared these with me. I don’t think it is her recipe that she made up but she does sit on a bank of golden recipes to share with me, for me to share with you!
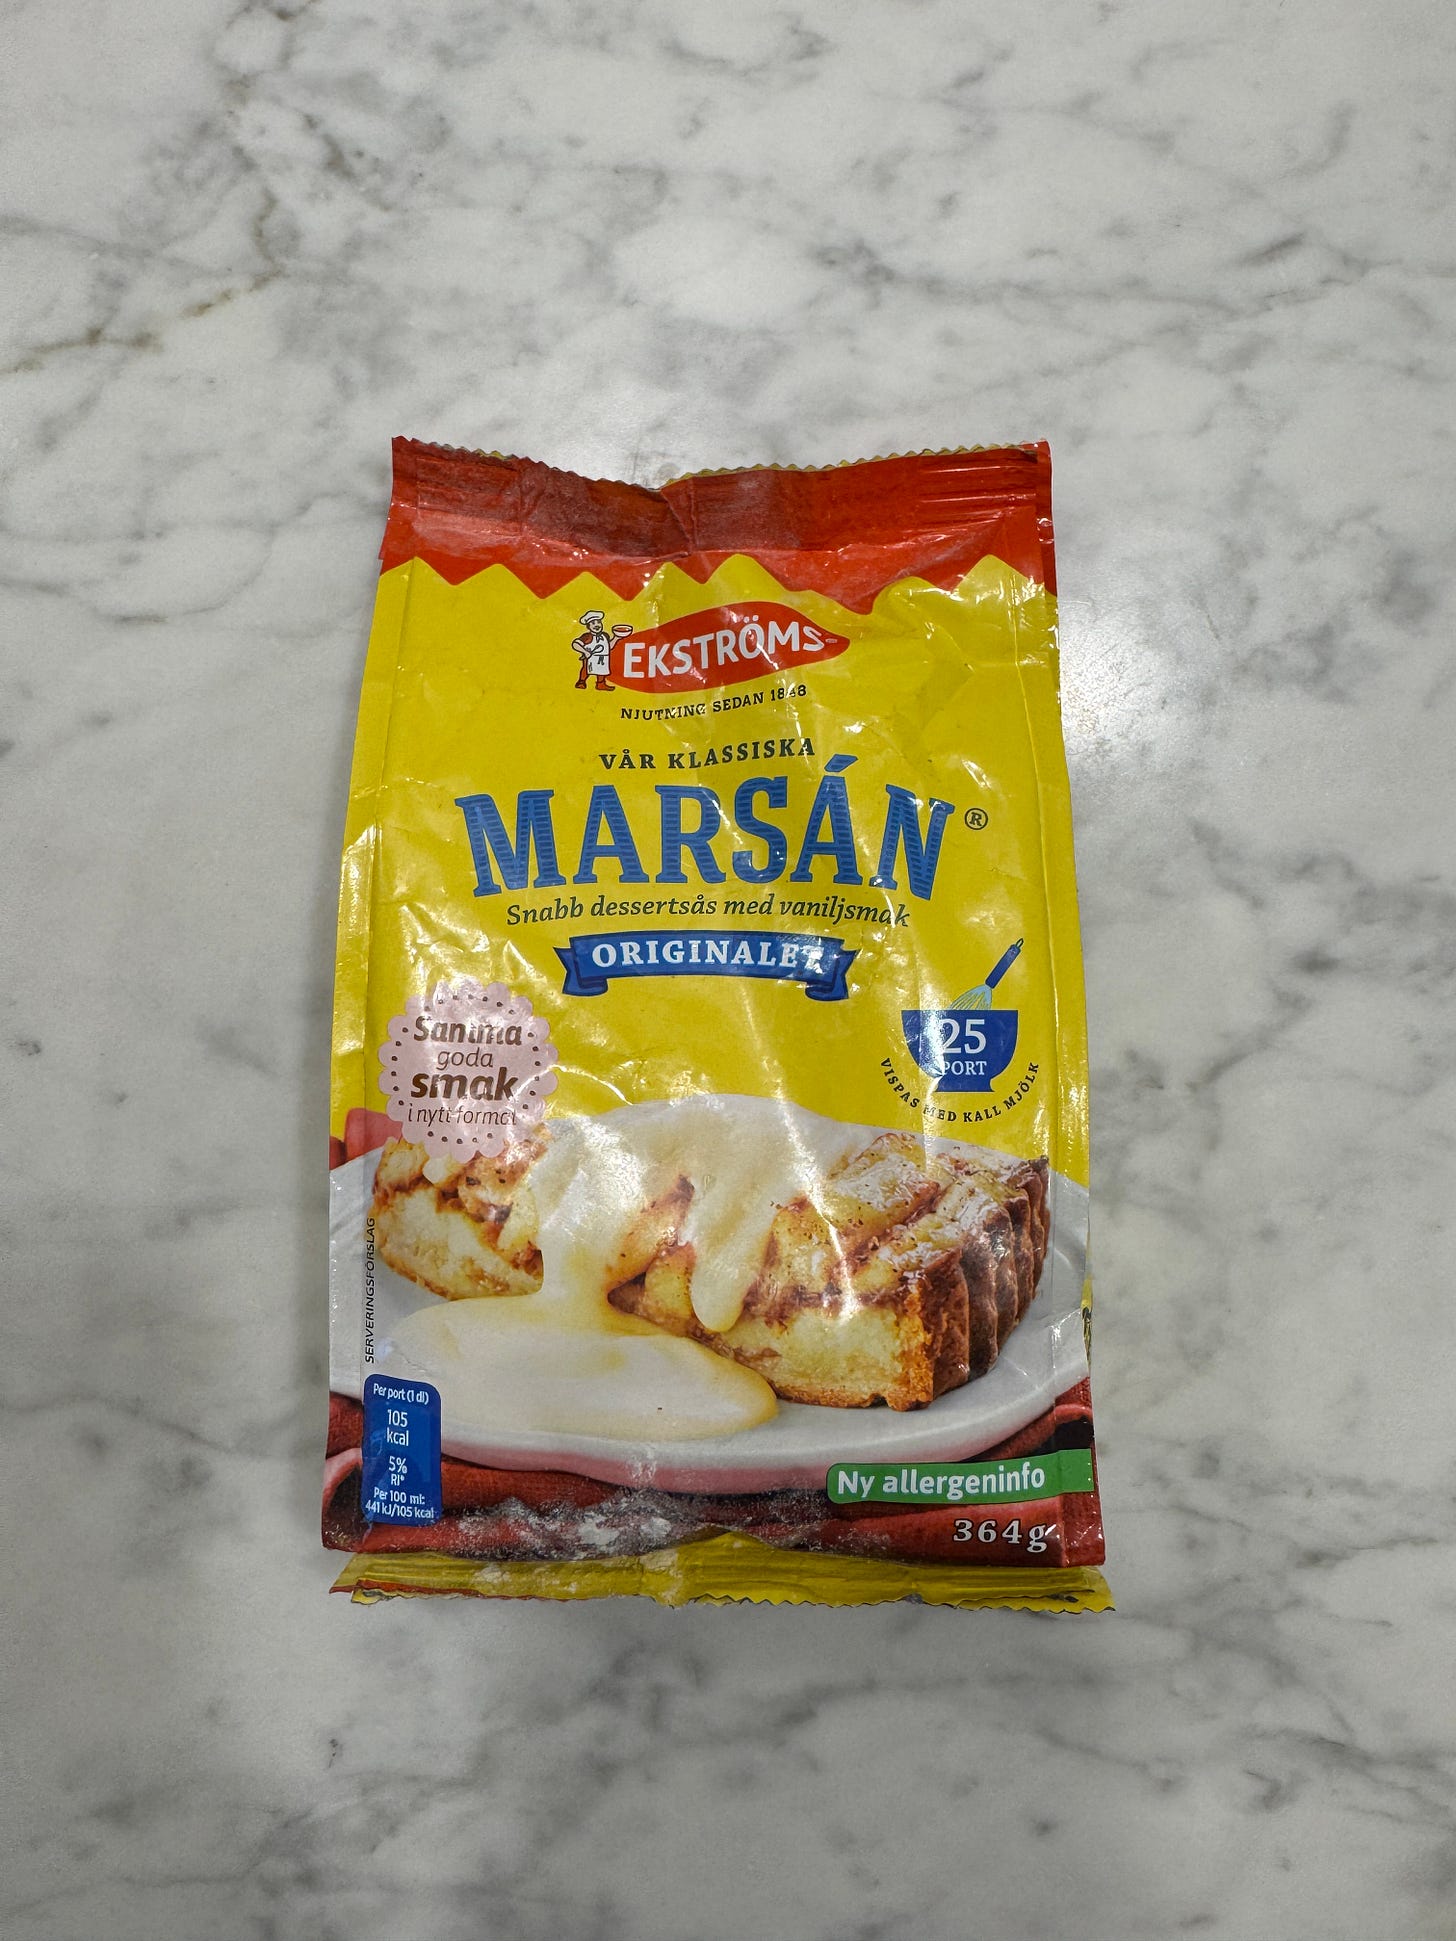
In this recipe, there’s a secret ingredient. Are you ready? Cue dramatic drumroll … it’s custard powder! Or, as we Swedes affectionately know it, Marsanpulver. Now, before you raid your pantry, let me clarify—I’ve only tested this magic with the Swedish brand Marsana, not the British stuff. So if you’re reaching for some off-brand custard powder, proceed with caution. This filling deserves the good stuff.
We also use fresh yeast, which you can buy here but if you cannot get ahold of fresh yeast, you can ofc use dry yeast.
And now, without further ado, I do … bake!
*This is a swedish recipe in dl, 1 dl is 100 g
For the dough:
150 g unsalted butter
5 dl (500g) milk
50 g fresh yeast
1 tsp. salt
1,5 dl (150g) sugar
1 egg
1 gram saffron
approx. 14 dl good quality flour
Step 1: Saffron
Start by mixing the saffron with 2 tablespoons of boiling water and 2 tablespoons of sugar. Let it sit for at least 20 minutes—this step brings out that deep, golden colour and intense flavour. Patience pays off here!
Step 2: Making the Dough
Combine all the ingredients—hej hopp!—in a stand mixer. BUT WAIT! Don’t pour the salt directly onto the yeast; they’re not exactly best friends. If you’re feeling fancy (and have the time), heat the milk until lukewarm first, but honestly, it’s not a deal-breaker.
Now for the important part: Knead the dough at a low speed for a long time—about 15 minutes. You can absolutely knead by hand if you’re up for it, but it’ll take a bit longer and require some elbow grease. The goal? Develop lots of gluten for that smooth, elastic, and dreamy dough.
Pro Tip: Flour can be a bit of a diva—it behaves differently depending on the brand, humidity, and the mood of your kitchen. Adjust as needed. The dough should feel soft and supple—not too dry, not too sticky. Remember: smooth is the magic word.
Step 3: Rest and Relax
Let the dough rest for 20 minutes. This isn’t the time for it to rise yet—just a quick nap so it becomes even more pliable and elastic.
Step 4: The Filling
While the dough rests, whip up the delicious filling. Here’s what you’ll need:
200 g room-temperature butter
1 dl (100 g) vanilla custard powder
1 dl (100 g) sugar
2 tablespoons vanilla sugar or 1 teaspoon vanilla bean paste
Mix everything together until you have a luscious, gooey filling. (Try not to eat it all with a spoon—resist the temptation!).
Step 5: Shape the Buns
Divide the dough into two equal parts. Roll each part into a rectangle—think pizza dough, but for saffron heaven. Spread the filling evenly across the surface.
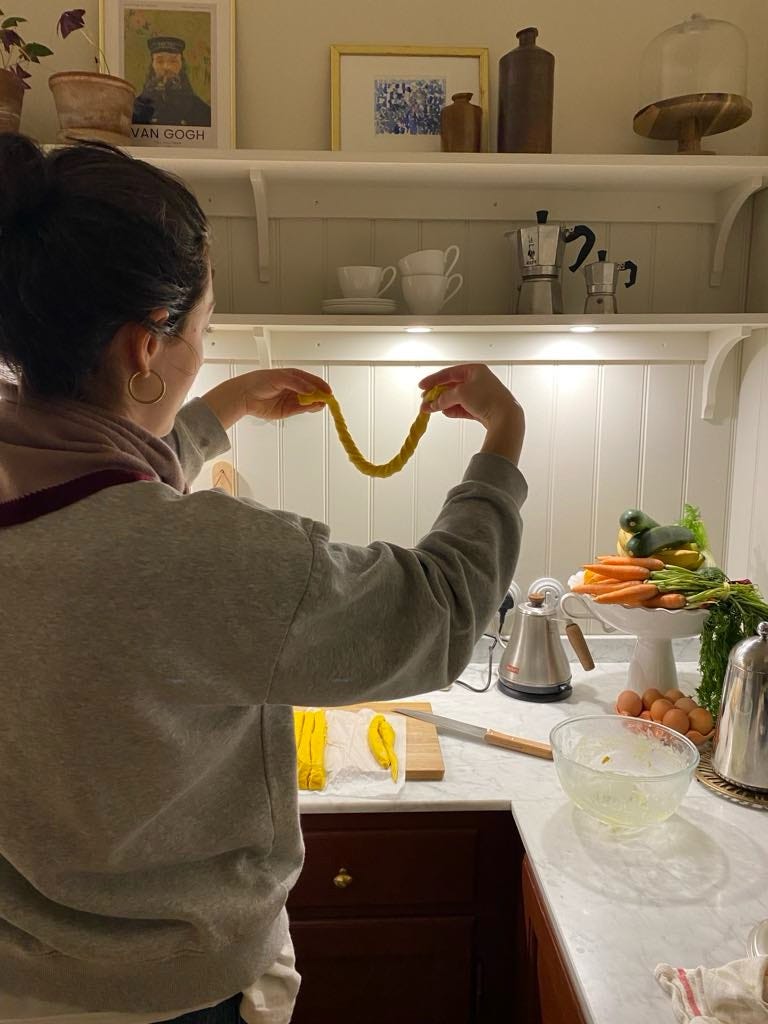
Fold the dough in half like a cosy blanket. Now, cut it into strips. Shape them into elegant knots or go classic with the traditional lussekatter shape. Whatever your style, they’ll look—and taste—amazing.
Place your buns on baking paper or in individual baking cups.
Step 6: Proofing—The Most Important Step!
This is where the magic happens.
Set your oven to 30–40°C (85–105°F). Place the trays of buns inside to proof.
For that all-important moisture (no one likes dry buns!), put a bowl of boiling water at the bottom of the oven. This creates a warm, humid environment where the buns can thrive.
Let the buns proof for 1–1.5 hours. They should puff up beautifully—think big, soft, and irresistibly fluffy. If they’re looking like clouds, you’re doing it right.
Step 7: Preheat and Prep
Take the buns out of the oven and crank up the heat to 200°C (390°F).
While the oven heats, give your buns the royal treatment with an egg wash:
1 egg
A splash of water
A pinch of salt
Whisk it together and brush it generously over the buns for that golden, glossy finish.
Step 8: Sweet Finish
While the buns bake, quickly make a simple syrup:
1 dl water
1 dl sugar
Bring it to a boil until the sugar dissolves completely.
Step 9: Bake to Perfection
Bake the buns in the middle of the oven for 8–10 minutes until they’re golden and just starting to smell like heaven.
As soon as they emerge, still warm and glowing, brush them with the syrup. This not only gives them that irresistible shine but also keeps them soft and fresh for days (if they even last that long).
Now stand back, admire your golden masterpieces, and prepare to enjoy the best lussebullar of your life!
With love,
Patricia


